
Economy Sliding Shelf
Economy Sliding Shelf
SKU:KSECO
Couldn't load pickup availability
Description
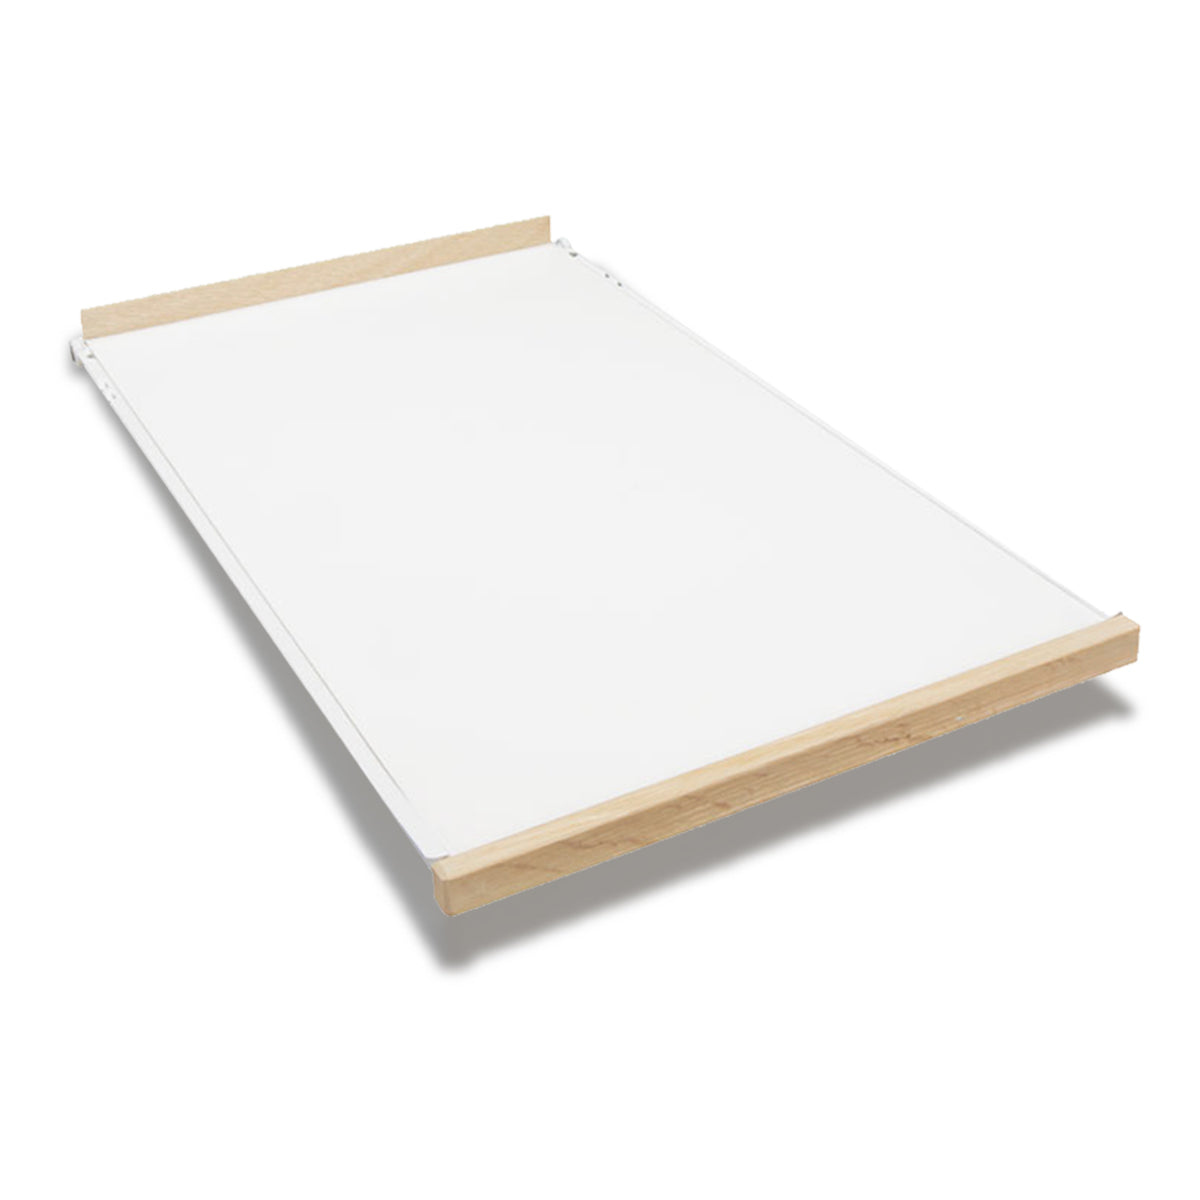
Our least expensive shelf with no sides, great for computer and video storage. No door protectors needed as front trim is wider that the shelf. Includes Oak or Maple hardwood front accents of your choice! Bottom is 5/8" thick melamine with a 2" tall plywood strip on the rear of the shelf. The maximum width for the economy shelves is for a 24" opening. The exception is when they will be used for a keyboard tray and the weight is minimal. Order base mount for keyboard tray and reverse the L brackets to hang from a flush desktop.
What's Included:
- Custom Pullout Shelf
- Complete set of the selected Slides
- Mounting Hardware for the selected Mounting Style
- 10 Wood Mounting Screws per shelf (5/8" long)
Width & Depth Measuring
Width:
SEE GUIDE ➤The available space between the most narrow 2 points of your cabinet's opening, at the level the shelf will be installed. Between any protruding hinges, doors, face frames, etc. It is typical for the lower pullout shelf to be slightly narrow that the upper, due to the hinges usually only interfering with the bottom. If you have a Frameless Cabinet, you may need to deduct for the L Brackets used by the Base or Half Shelf Mounting Styles.
Depth:
SEE GUIDE ➤Select the Shelf Depth that would fit inside of your available cabinet interior depth, behind any doors or framing. This is the actual length of the pullout shelf. The Rear Socket Mounting Style may add 1/4" more to the Shelf Depth selection, so please allow for 1/4" Extra room when ordering to be safe.
Do not select the Depth size larger than your interior cabinet depth.
Mounting Styles
| Base Mount | Mounting on top of any existing surface, i.e. Bottom/Floor of cabinet, Full Fixed/Adjustable Shelf. |
| Half Shelf Mount | Utilizing the pesky Half Shelf in the back of the cabinet, or an existing shelf that's more than 2" shorter than the cabinet depth. |
| Side Mount | For mounting an upper shelf with no existing fixed/adjustable shelf. Would attach to the interior sidewalls using a form of Spacer or Wood Strip so the pullout can be narrow enough to slide through the opening. |
| Rear Socket Mount | Similar to the Side Mount, only the Rear of the shelf will be attached to the cabinet's back wall. |
| The Half Shelf, Side Mount, and Rear Sockets Mounting Styles all attach to the Face Frame or Sides of the cabinet on the front, the rear attachment is all that changes. | |
You can find more information on our different Mounting Styles HERE.
| Specifications | |
| Height | 2" Tall Back Wall |
| Width | From 6" to 26" (1/16" increments) |
| Depth | From 12 1/4" to 26 1/4" (2" increments) |
| Capacity | 75 lbs. |
| Wood | 5/8" Thick Melamine Bottom |
| Finish | Unfinished |
| Options | Oak or Maple Front Trim |
| Warranty | 2 Years |
If you have any questions on measuring, mounting, or ordering please emails us at Service@kitchenshelves.com or call us at 623-780-2555
We installed the shelves yesterday and are very happy with them.
Received yesterday and installing today.
I just want to tell you that we received our shelves and we absolutely love them. You did a fantastic job.
Please add my name to those who think that your sliding shelves are the best shelving that I have ever installed. The ease of assembly and installation was surprisingly simple, but more importantly the quality is superb.
I received the 17 shelves yesterday, and have 12 installed now. That's in addition to those first four you made for me which was my "test" order. Ya did good. The shelves fit, there's lots of mounting hardware, the instructions are very good....Oh yes, on that point : - We recently purchased some wooden blinds for this new house, and the instructions said things like "choose the mounting position for the mounting brackets and mount them". Huh ? HOW ? Your instructions say HOW ! Great....thanks. - My upper shelves are the hardest to mount, I find. They're all half shelf supports, hardwood, and there's not much working space. I found it easier if , instead of screwing the backs in place as directed, I first used a pencil to mark the rear bracket location (after following your directions on the front brackets of course !) , then drilled guide holes for the screws, then screwed the rear L brackets down. I just couldn't get enough leverage to start the screws without first drilling the guide holes. The order is correct too... (this time!) All the right shelves and mounting kits, lots of 1/8" spacers, and I like the nylon door guards. So...totally satisfied. Thanks for the help in upgrading our kitchen.